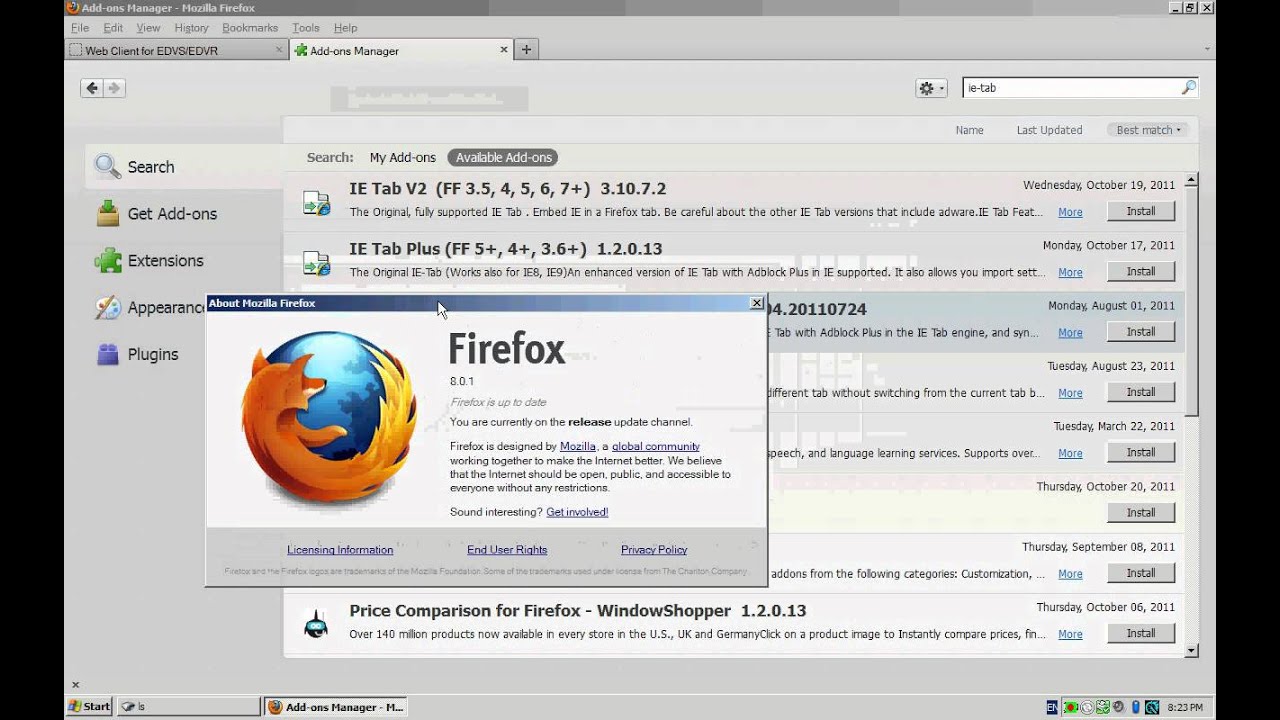
This works for me even on the latest firefox How to use Firefox to live view Hikvision device 1. Install the plug in first.
Troubleshoot/Delete Web Rec. From Dahua Wiki. Delete previous webrec files and plug-ins to ensure using the Dahua Web service is optimized to work. Installs the Dahua ActiveX Control for Internet Explorer, Chrome IE Tab, or the Firefox IE Tab.
Open a blank page of Firefox and input about:config (where you normally type the web address) 3 Press Enter. Click on the, “I Accept the Risk” Button. You will then be in the plugin section of Firefox. Right click, then go to NEW from the dropdown list.
You will have 3 options to choice from, you will need to select Boolean. Once you have done that, you will need to type the plugin name: plugin.load_flash_only Click OK and choose “false” for the VALUE. Exit firefox and reload the DVR/NVR web interface to 'accept' to run the plugin at the top of the page (all being well). Seems that with my new Firefox 55 I can not even login anymore. Putting credentials and then clicking OK, nothing happens. I think there is no 100% solution with Dahua and web browsers.
IE is good in Win7, but in Win10 there is no IE. Edge does not work. For Chrome they have an app (NACL plugin) which works, but it is not a plugin, more like a 'browser inside a browser' where you can put Dahua devices address in the location field. Well, better than nothing anyway. SmartPSS is also good solution but I don't know what is the logic to have so many versions (3 at the moment).
SmartPSS is incredibly slow when you adjust device settings. Also you cannot go very deep in the settings, for example it does not have all the exposure settings. Also I was not able to turn on FTP snapshot upload with SmartPSS, because it does not have an option to move the tick from storage -> local snapshot -> ftp snapshot. EDIT: Seems to be that Chrome has many different apps for Dahua, depends to which camera you try to first login with it. NACL plugin is so far the best working but did not see my own NVR with it.
Step by Step Instructions 1. Open Internet Explorer. Click on the gear icon in the upper right hand corner 3.
Click, 'Internet Options' 4. Click the, 'Security' tab. Click the, 'Trusted sites' icon. Click the, 'Sites' box immediately below the zones. Input your devices IP address into the top box, click, 'Add' and then, 'Close' 8.
Click, 'Custom level.' Click the drop down box at the bottom of this window, and change the setting to, 'Low' => 10. Click, 'Reset' and then, 'Yes' in the confirmation dialogue.
Simulink coder free download for windows 7. Download a free trial for real-time bandwidth monitoring, alerting, and more. This project follows classical technique for code generation from Simulink models.